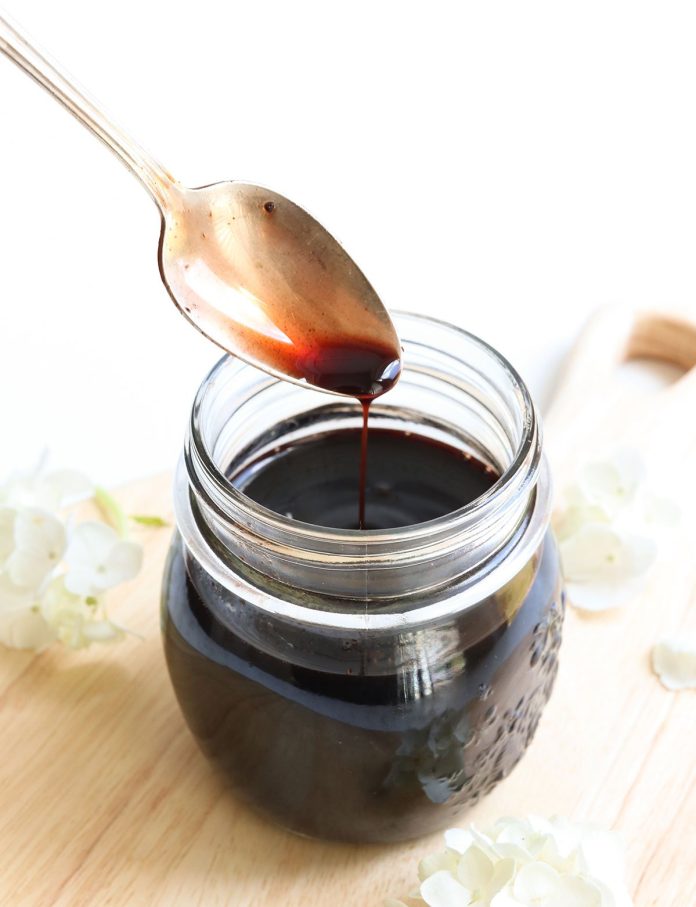
Homemade elderberry syrup is easier to make than you might think. Skip the store-bought version and try this simple recipe. As a bonus, it will make your home smell amazing.
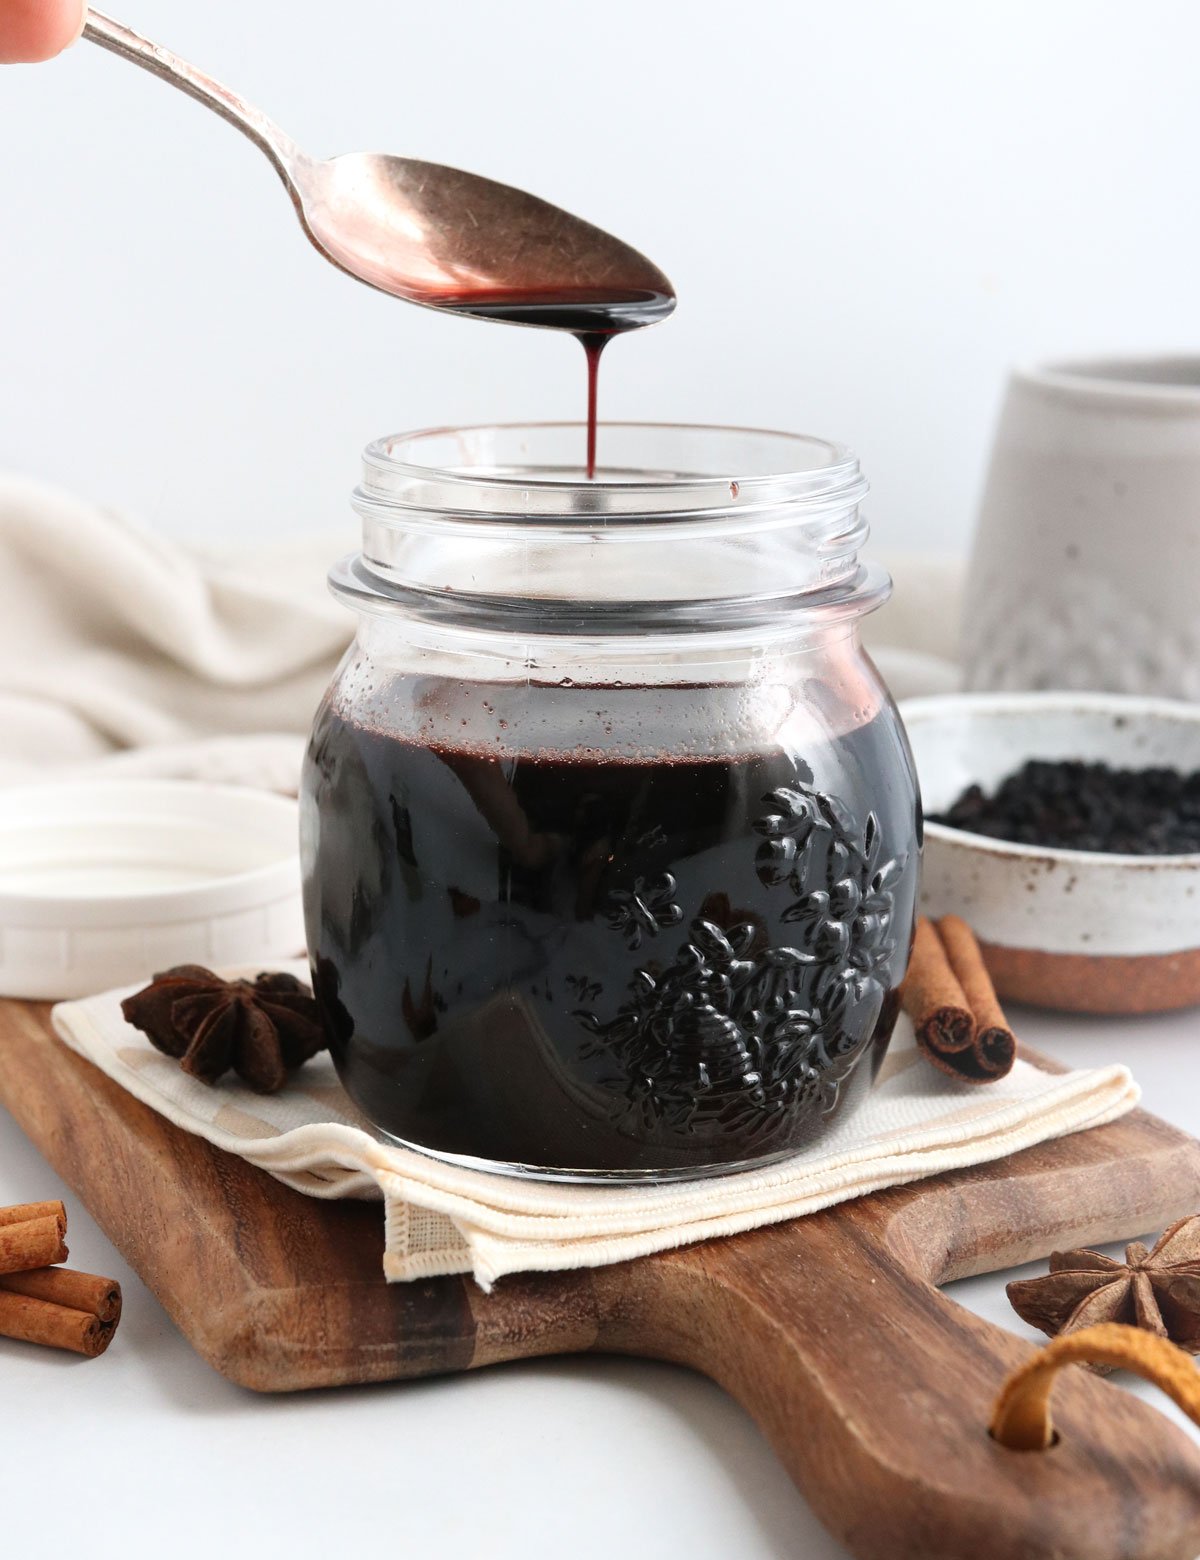

There’s a reason so many people reach for elderberry syrup when they want to boost their immune system. In one clinical trial, elderberry extract appears to help lessen symptoms and shorten the duration of cold symptoms compared to a placebo group.
According to this study, elderberry extract has been shown to reduce the duration of flu symptoms by an average of 4 days(!!) when taken within the first 48 hours of influenza symptoms appearing.
In lab rat studies, elderberries have also been shown to lower insulin resistance. This is something to remember if you are a diabetic taking insulin, as you might want to talk with your doctor before taking it.
Ingredients You’ll Need
This recipe calls for dried black elderberries, also called Sambucus nigra.
When shopping for honey, look for local or raw honey when possible. Research suggests that honey has antioxidants as well as potential antimicrobial and anti-inflammatory properties.
Plus, it will make your elderberry syrup taste amazing.
Safety Tip
Don’t consume raw elderberries or their leaves and stems, as they contain a toxic compound that can cause nausea and vomiting. Cooking eliminates this toxin, which is why elderberry syrup has become a common option.
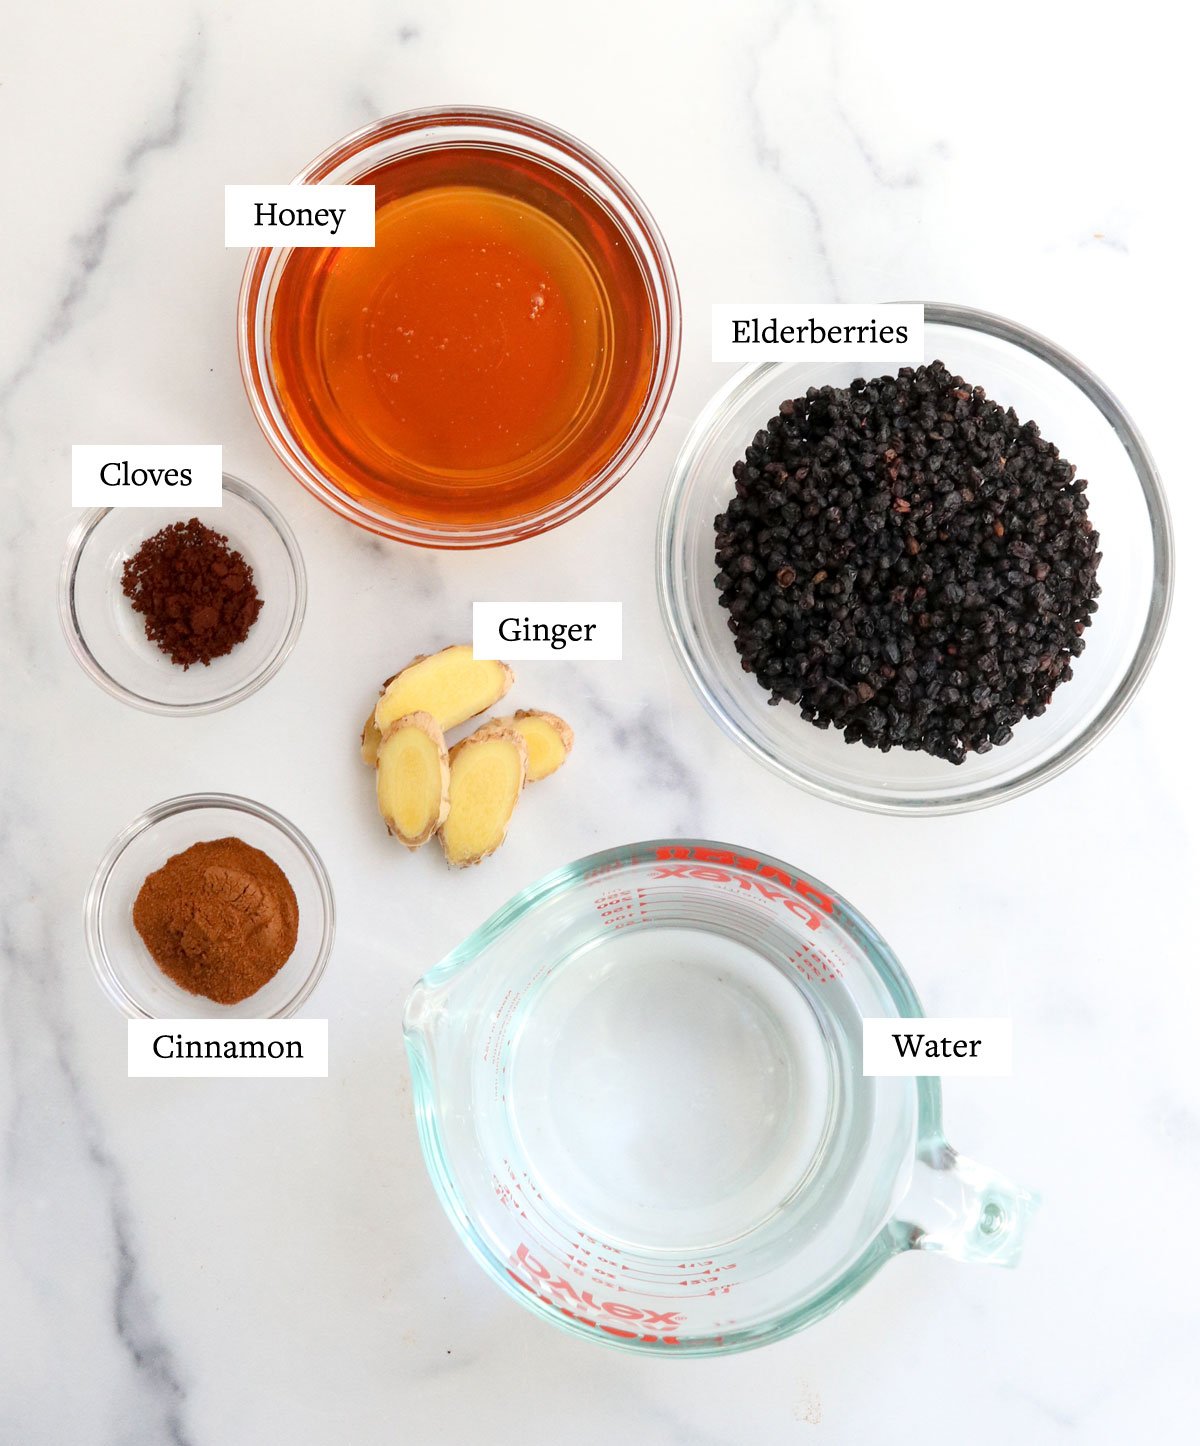

This recipe calls for dried spices for convenience, but you can also use whole cinnamon sticks or whole cloves if you happen to keep those in your pantry.
Need a sugar-free recipe?
Try making a cup of homemade elderberry tea instead.
How to Make Elderberry Syrup
- Simmer the ingredients.
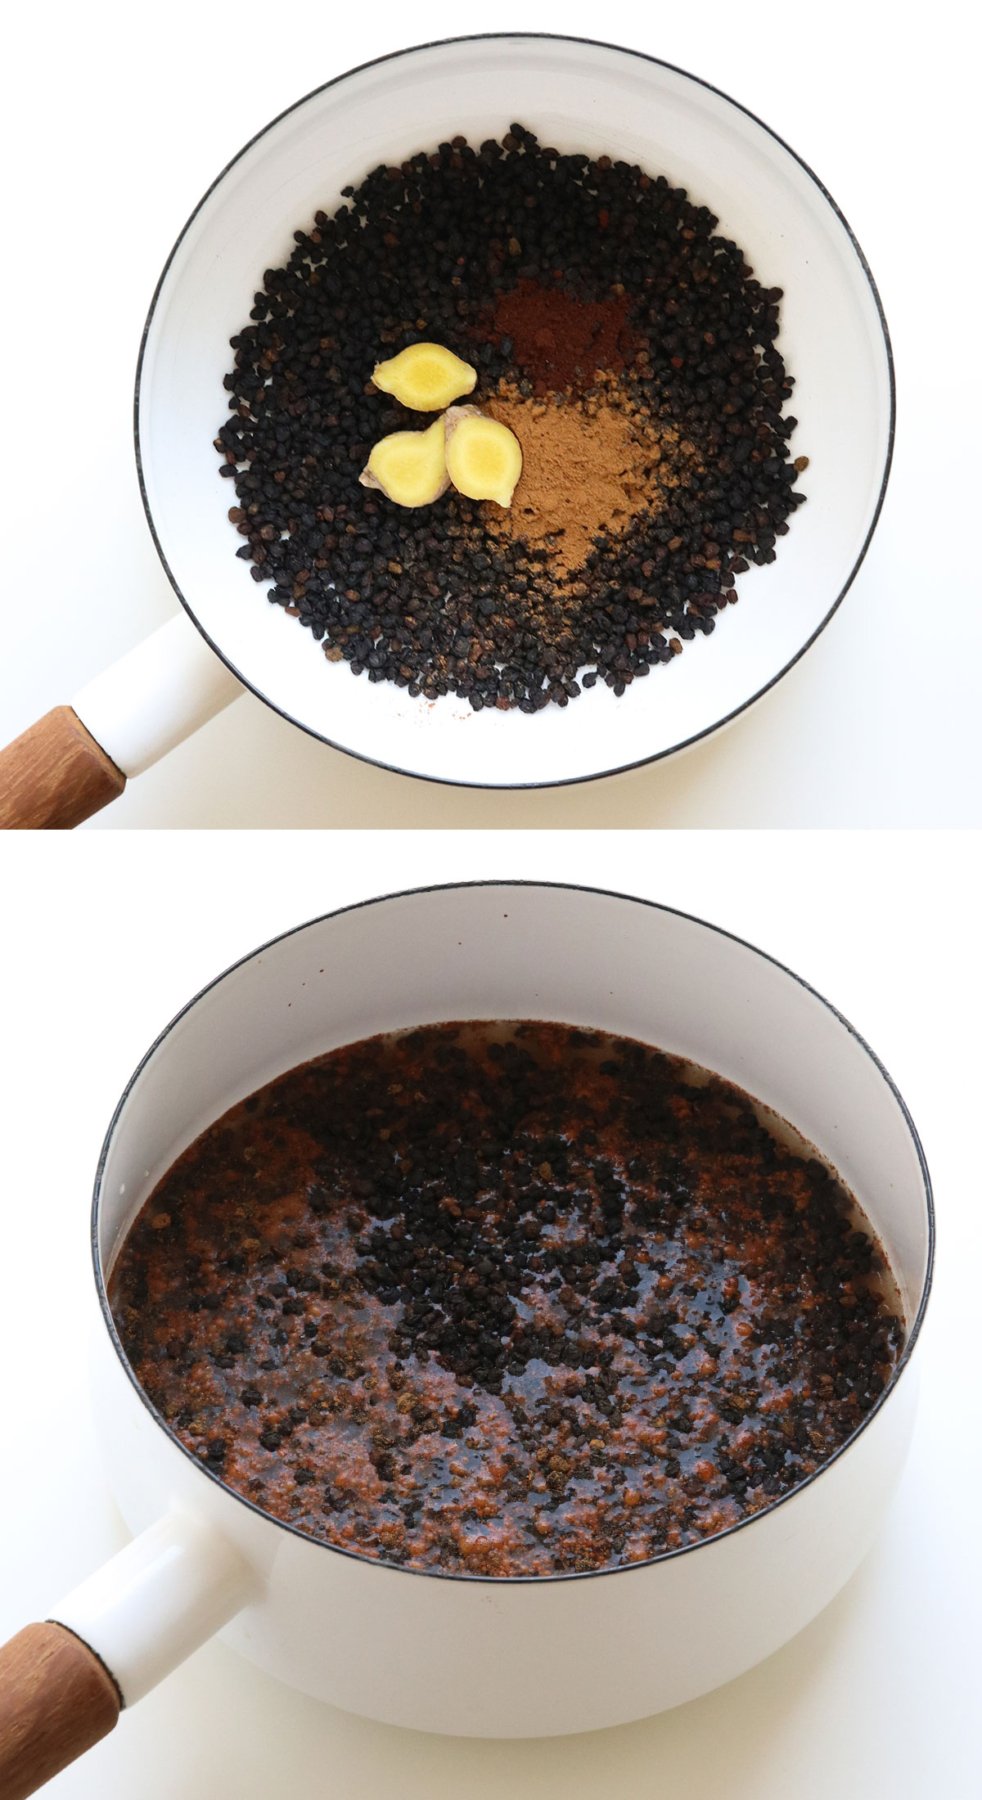
Add the dried elderberries, cinnamon, ginger, cloves, and water to a small pot.
Bring the liquid to a boil over medium-high heat. As soon as the liquid is bubbling, lower the heat and let it simmer until the liquid is reduced by half, about 25 to 30 minutes.

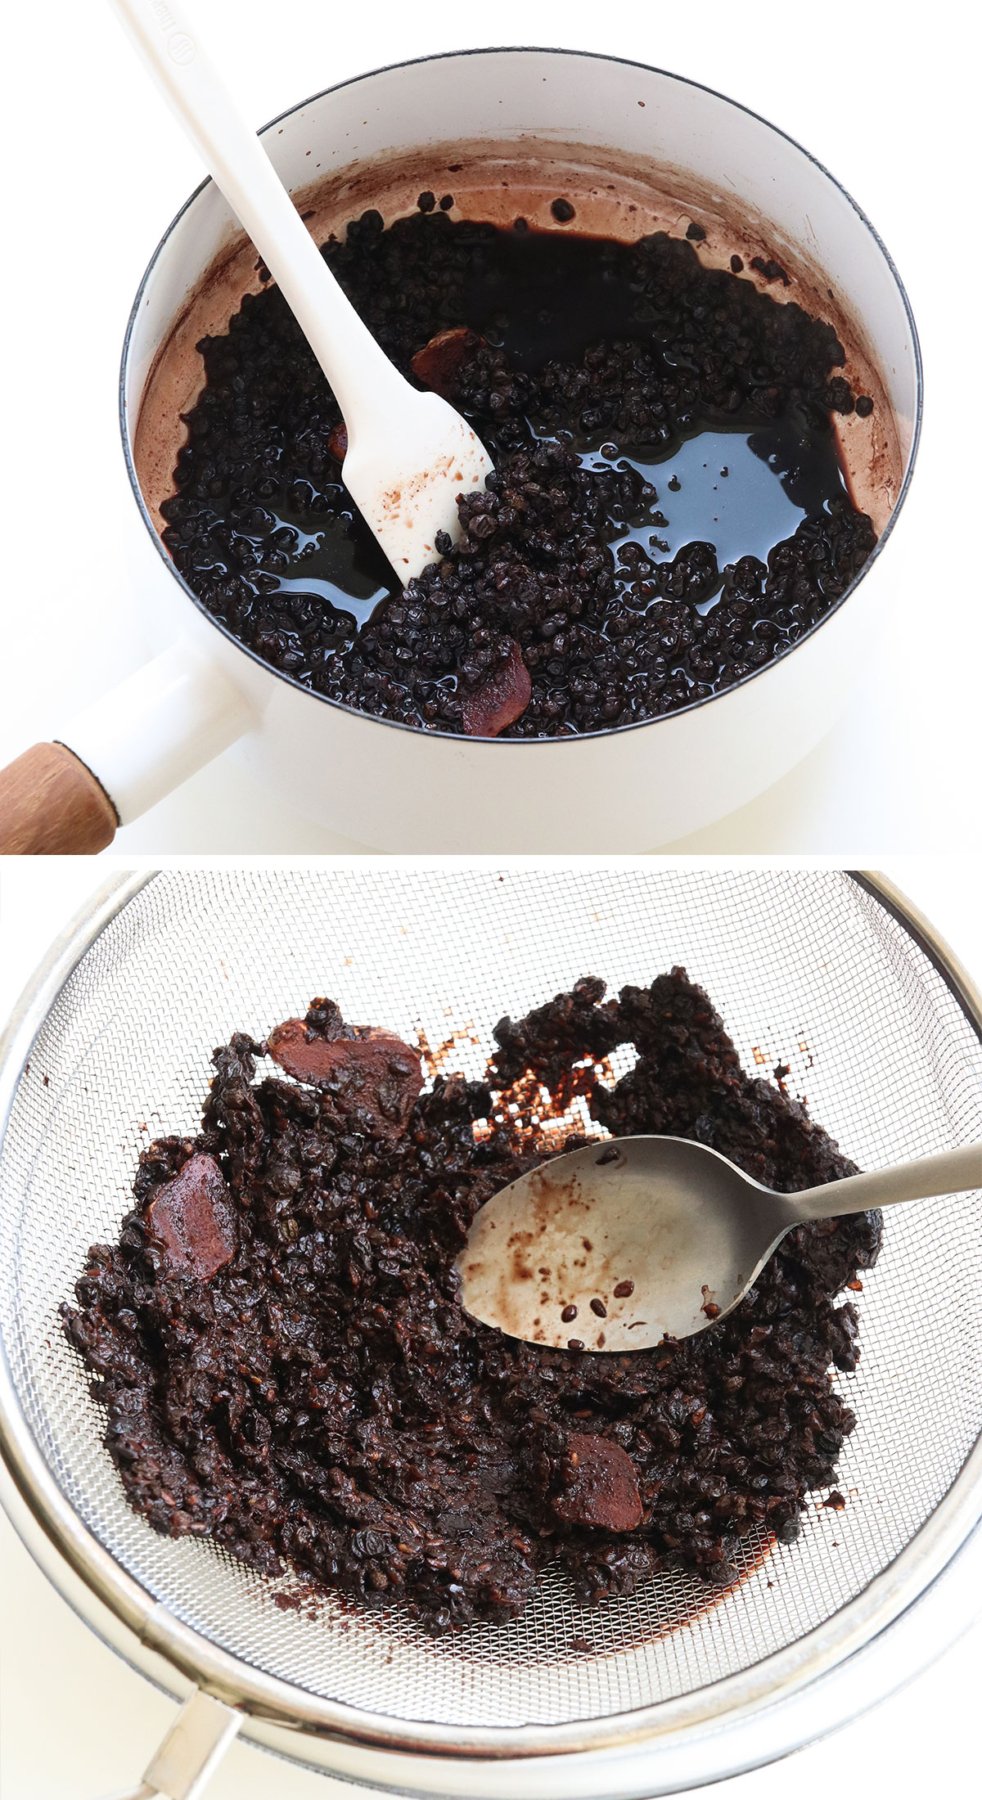
Pour the cooked elderberry mixture through a fine mesh sieve or cheesecloth into a large bowl.
Use the back of a spoon to mash the berries and strain out as much juice as possible. Discard the solids or add them to your compost.

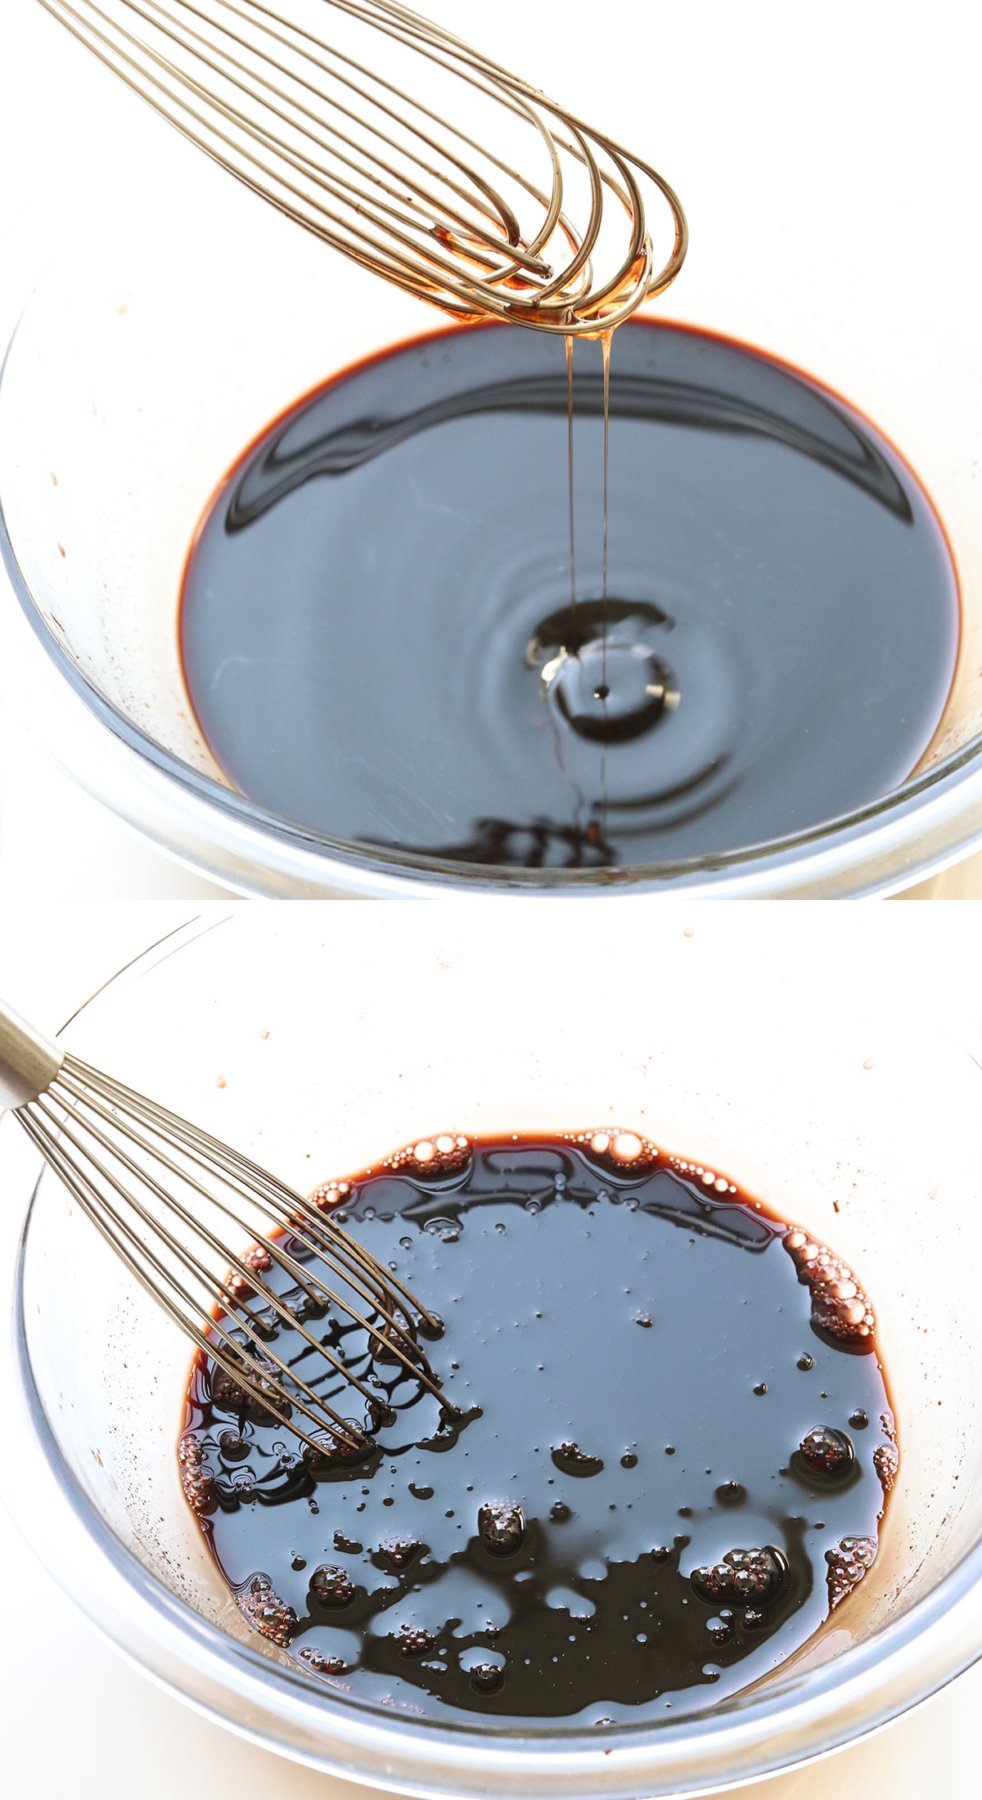
Let the strained elderberry liquid cool to room temperature, then add the honey and whisk well.
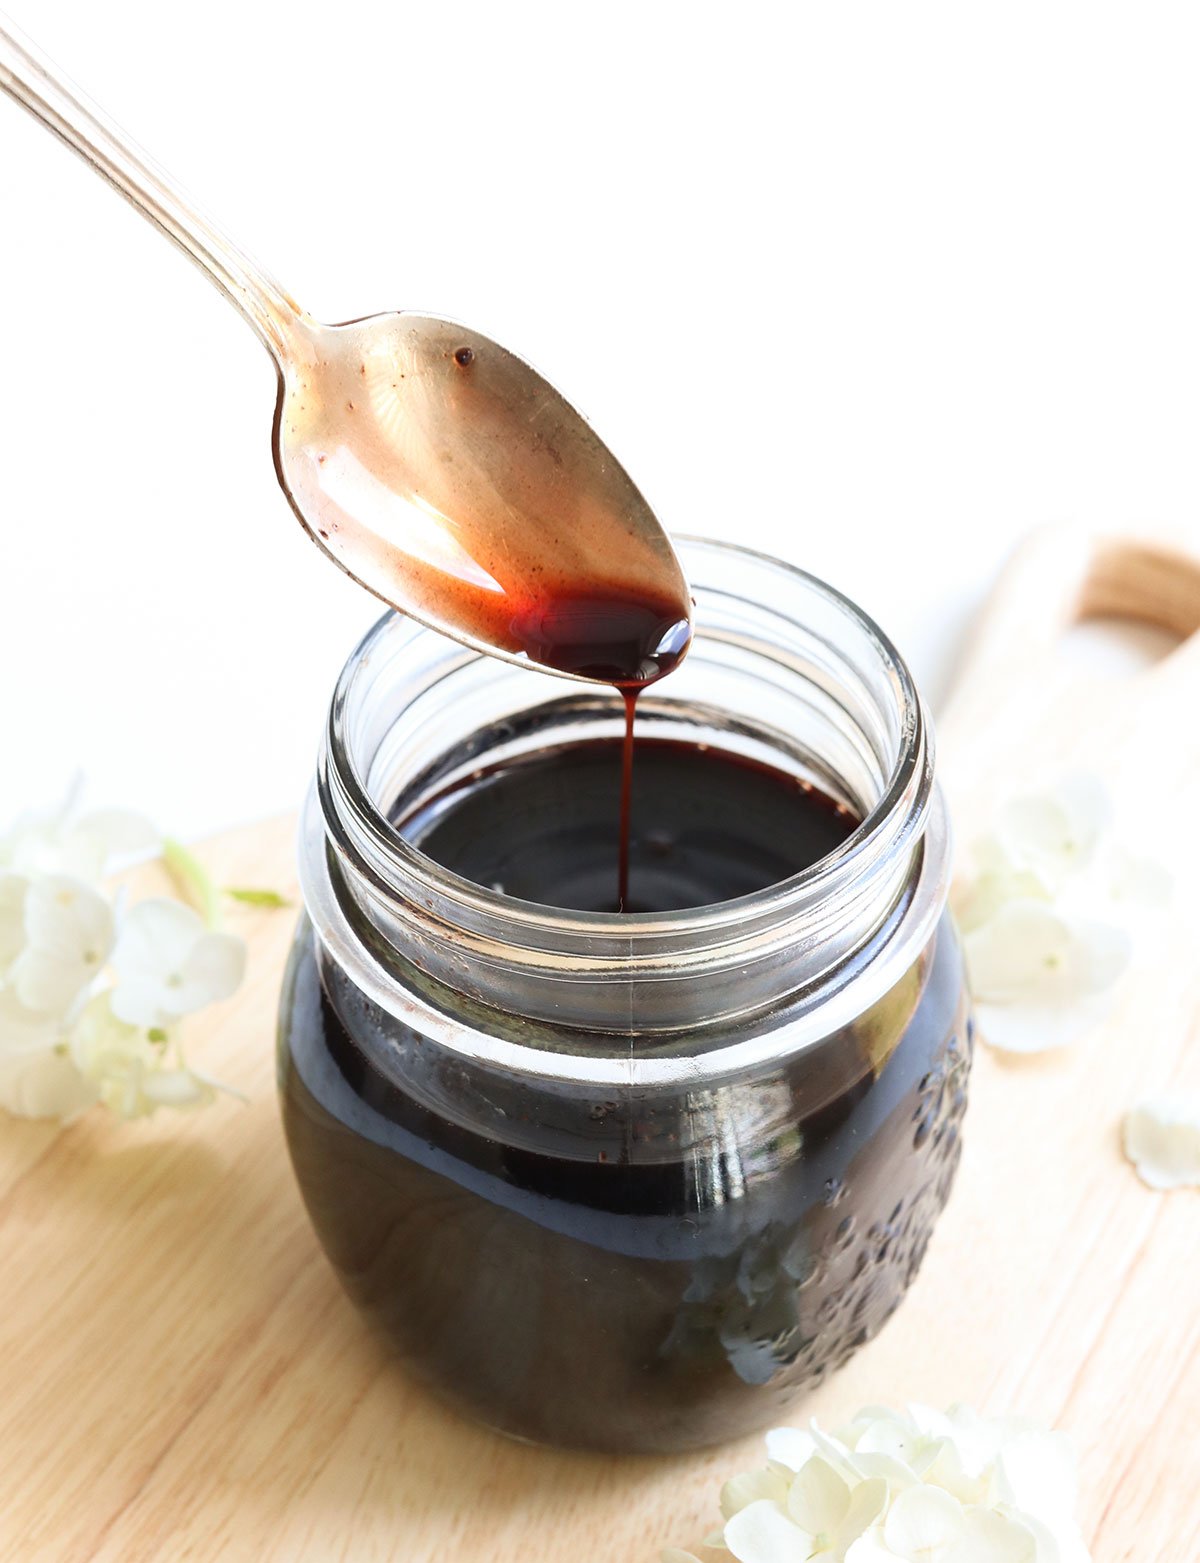
Transfer the elderberry syrup to an airtight container and store it in the refrigerator for up to 4 weeks. Make sure to always use a clean spoon when using this, to avoid any contamination.
This small batch usually lasts 2 to 3 weeks in my home, depending on how many of my family members remember to take it, but you can double the recipe if needed.

Detoxinista Tip
Homemade elderberry syrup is more runny in texture than a store-bought version. This is because the sugar concentration is lower than in store-bought versions, which use more sugar to make it shelf-stable.
How to Use Elderberry Syrup
Elderberry syrup is most often taken by the tablespoon when needed. However, you can also use it to make an elderberry smoothie, or you can add it to your favorite warm tea with a squeeze of lemon juice when you want to soothe your throat.
Incorporate elderberry syrup into your morning routine by drizzling it on waffles, pancakes, or over a bowl of oatmeal.

Looking for more recipes for cold & flu season? Try Ginger Tea, Detox Soup, Carrot Juice or Classic Chicken & Vegetable Soup.
- ½ cup dried elderberries
- 2 cups water
- 1 teaspoon ground cinnamon
- ¼ teaspoon ground cloves
- 1 inch fresh ginger , thinly sliced
- ½ cup honey
-
Combine the elderberries, water, cinnamon, cloves, and ginger in a small saucepan over high heat and bring the mixture to a boil. Lower the heat and allow the mixture to simmer until the water has been reduced by half, about 25 to 30 minutes.
-
Pour the cooked berries and liquid through a fine mesh strainer, into a clean bowl, to strain out the berries. Use the back of a spoon to press on the berries in the strainer, to extract all of the juice, then discard or compost the pulp that’s left in the strainer.
-
Allow the elderberry juice to cool to room temperature. Stir in the honey, using a whisk to incorporate it smoothly, then transfer the syrup into a sealed glass jar that you can store in the fridge.
-
This syrup should keep well for at least two weeks when stored in the fridge, so if you don’t think you’ll use it all before then, feel free to freeze any extras. You can always thaw it overnight in the fridge when you need more. Homemade elderberry syrup doesn’t become as thick as the store bought version because it uses less sugar and no preservatives or thickeners, so don’t be alarmed if the final syrup has more of a liquid consistency.
- Nutrition information is for roughly 1 tablespoon of elderberry syrup. This information is automatically calculated and is just an estimate, not a guarantee.
- This recipe should make roughly 1.5 cups of elderberry syrup, but that amount will vary based on how long you let the liquid cook down. This recipe is very adaptable, so feel free to experiment with it.
- I order these dried organic elderberries from Amazon.
- If you need a vegan recipe, feel free to use coconut sugar or maple syrup as an alternative sweetener to honey. Or, try elderberry tea for a sugar-free alternative.
Calories: 24kcal | Carbohydrates: 7g | Protein: 0.1g | Fat: 0.02g | Saturated Fat: 0.003g | Polyunsaturated Fat: 0.01g | Monounsaturated Fat: 0.003g | Sodium: 2mg | Potassium: 14mg | Fiber: 0.3g | Sugar: 6g | Vitamin A: 18IU | Vitamin C: 1mg | Calcium: 3mg | Iron: 0.1mg
If you try this elderberry syrup recipe, please leave a comment and star rating below so I know how it works for you.

